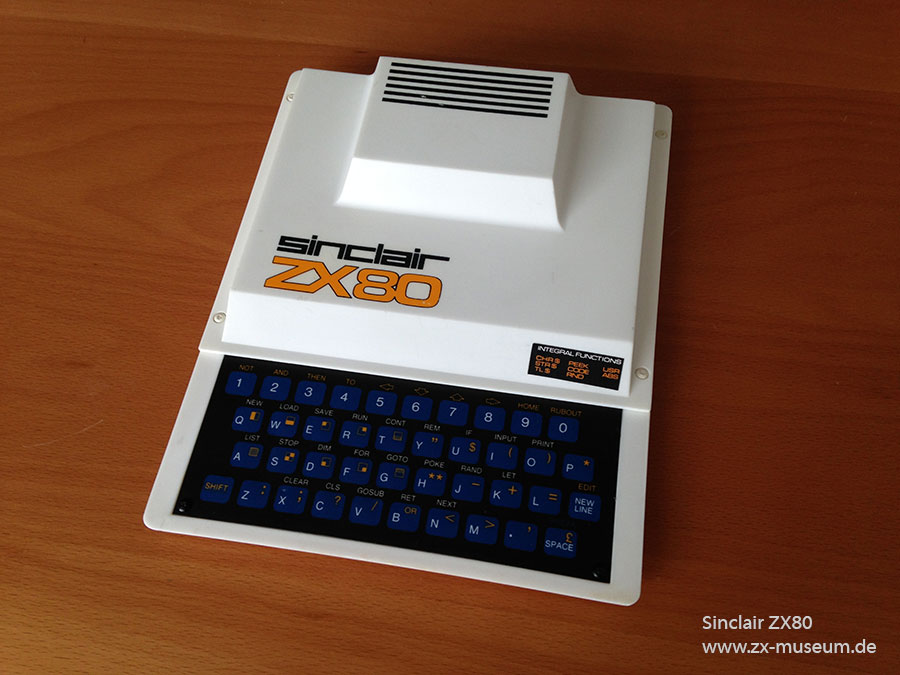
Mein Sinclair ZX80
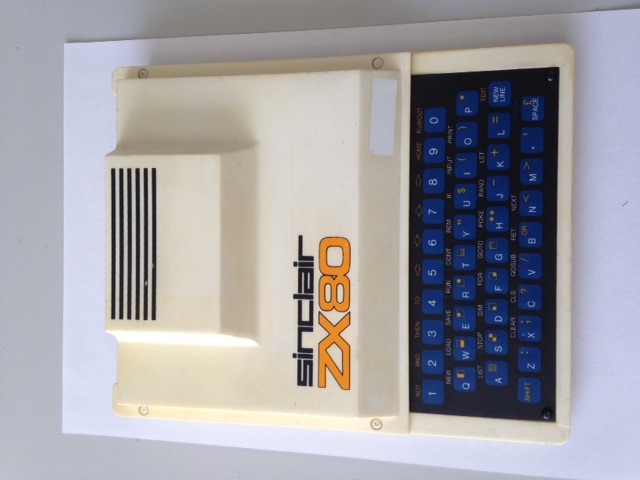
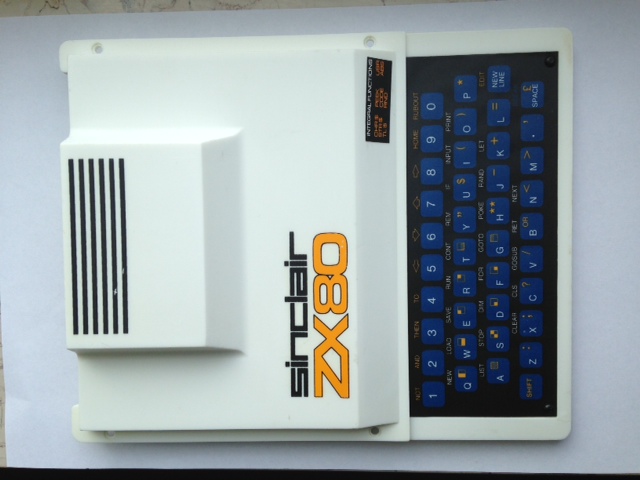
Retrobright
|
|
| before | after |
Diverse Fotos:
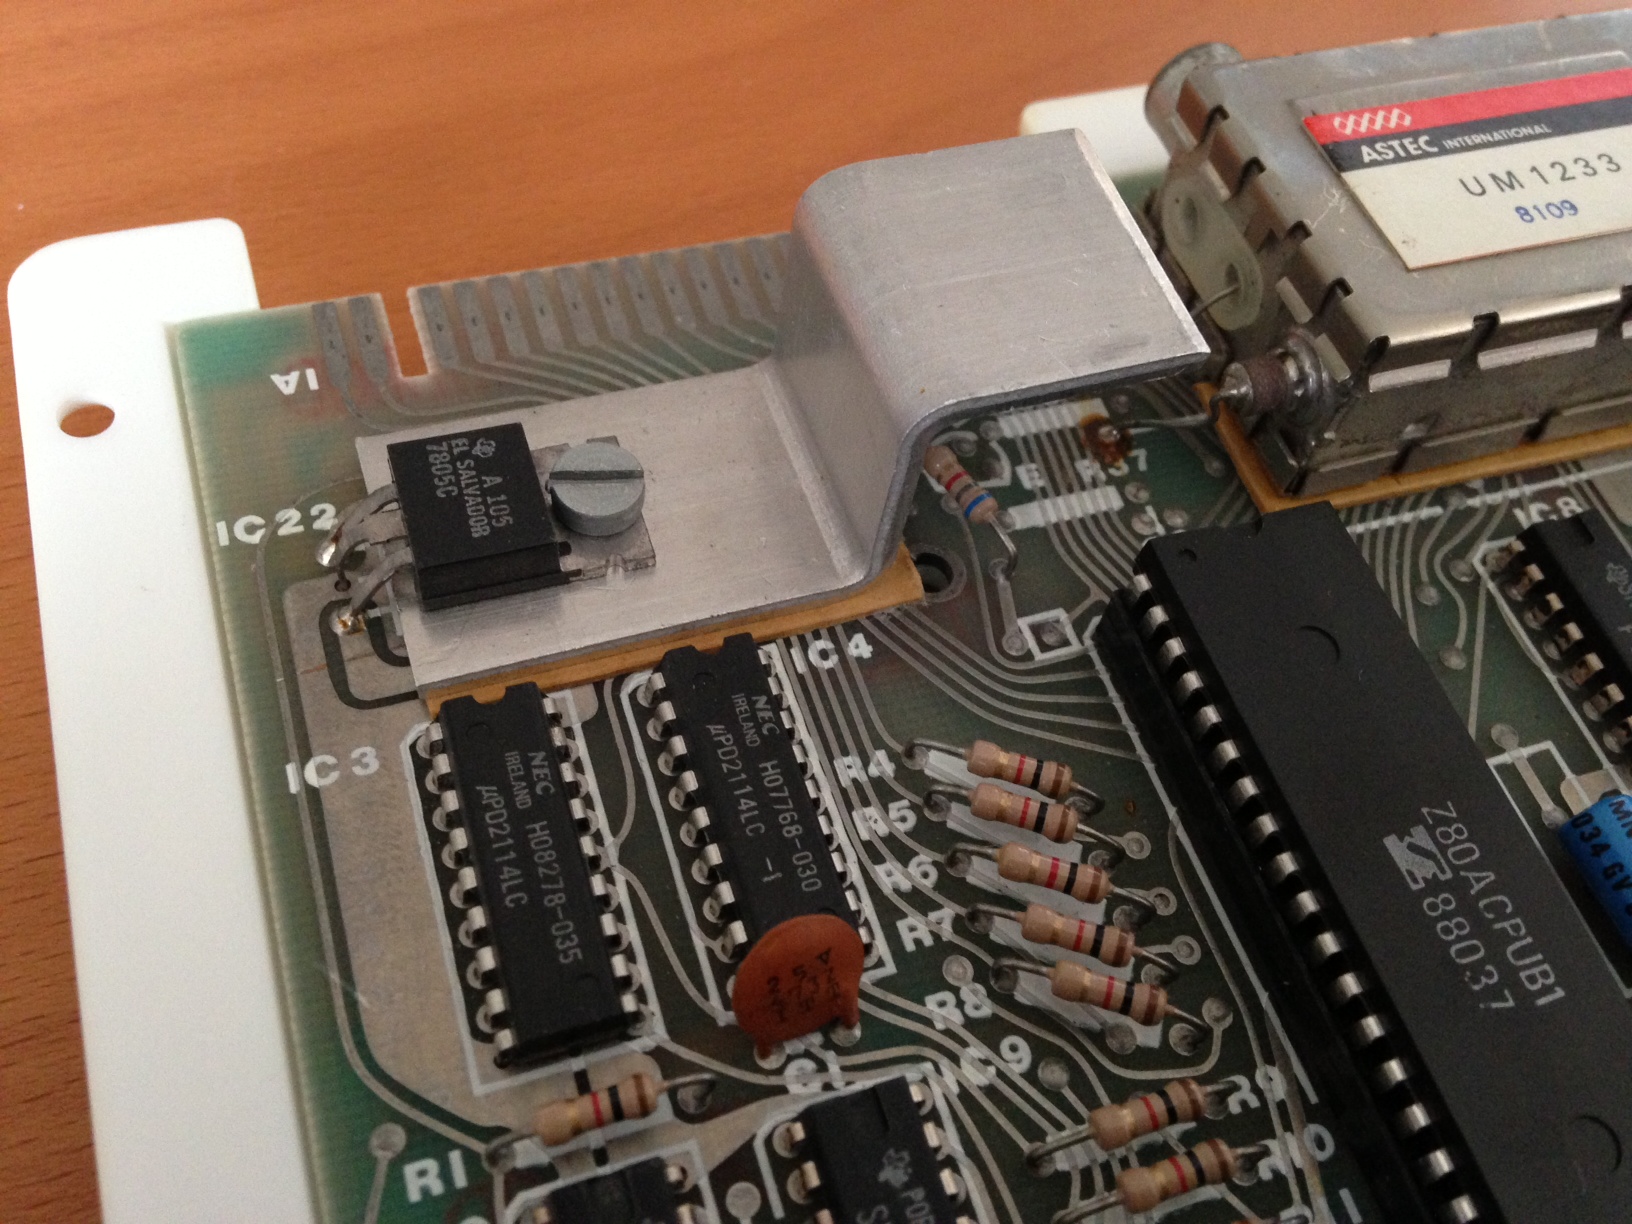
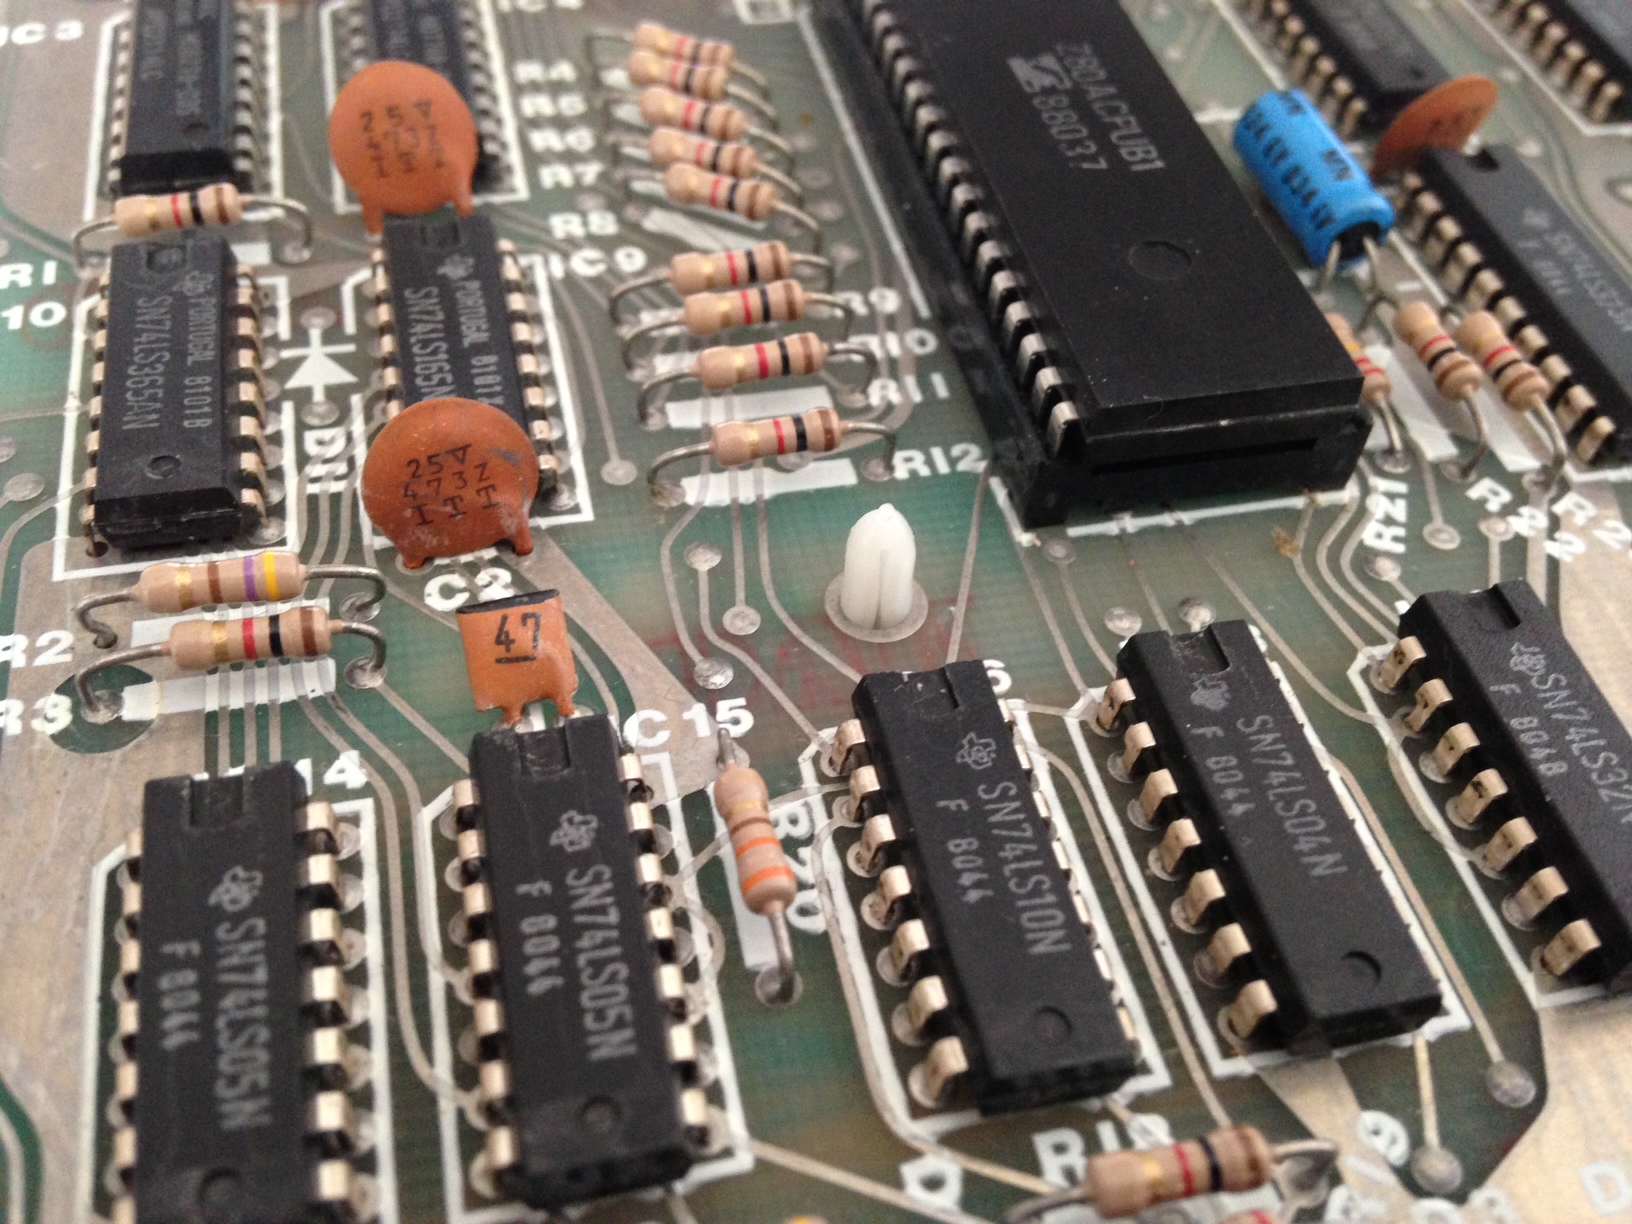
Foto 1 (Platine von oben)
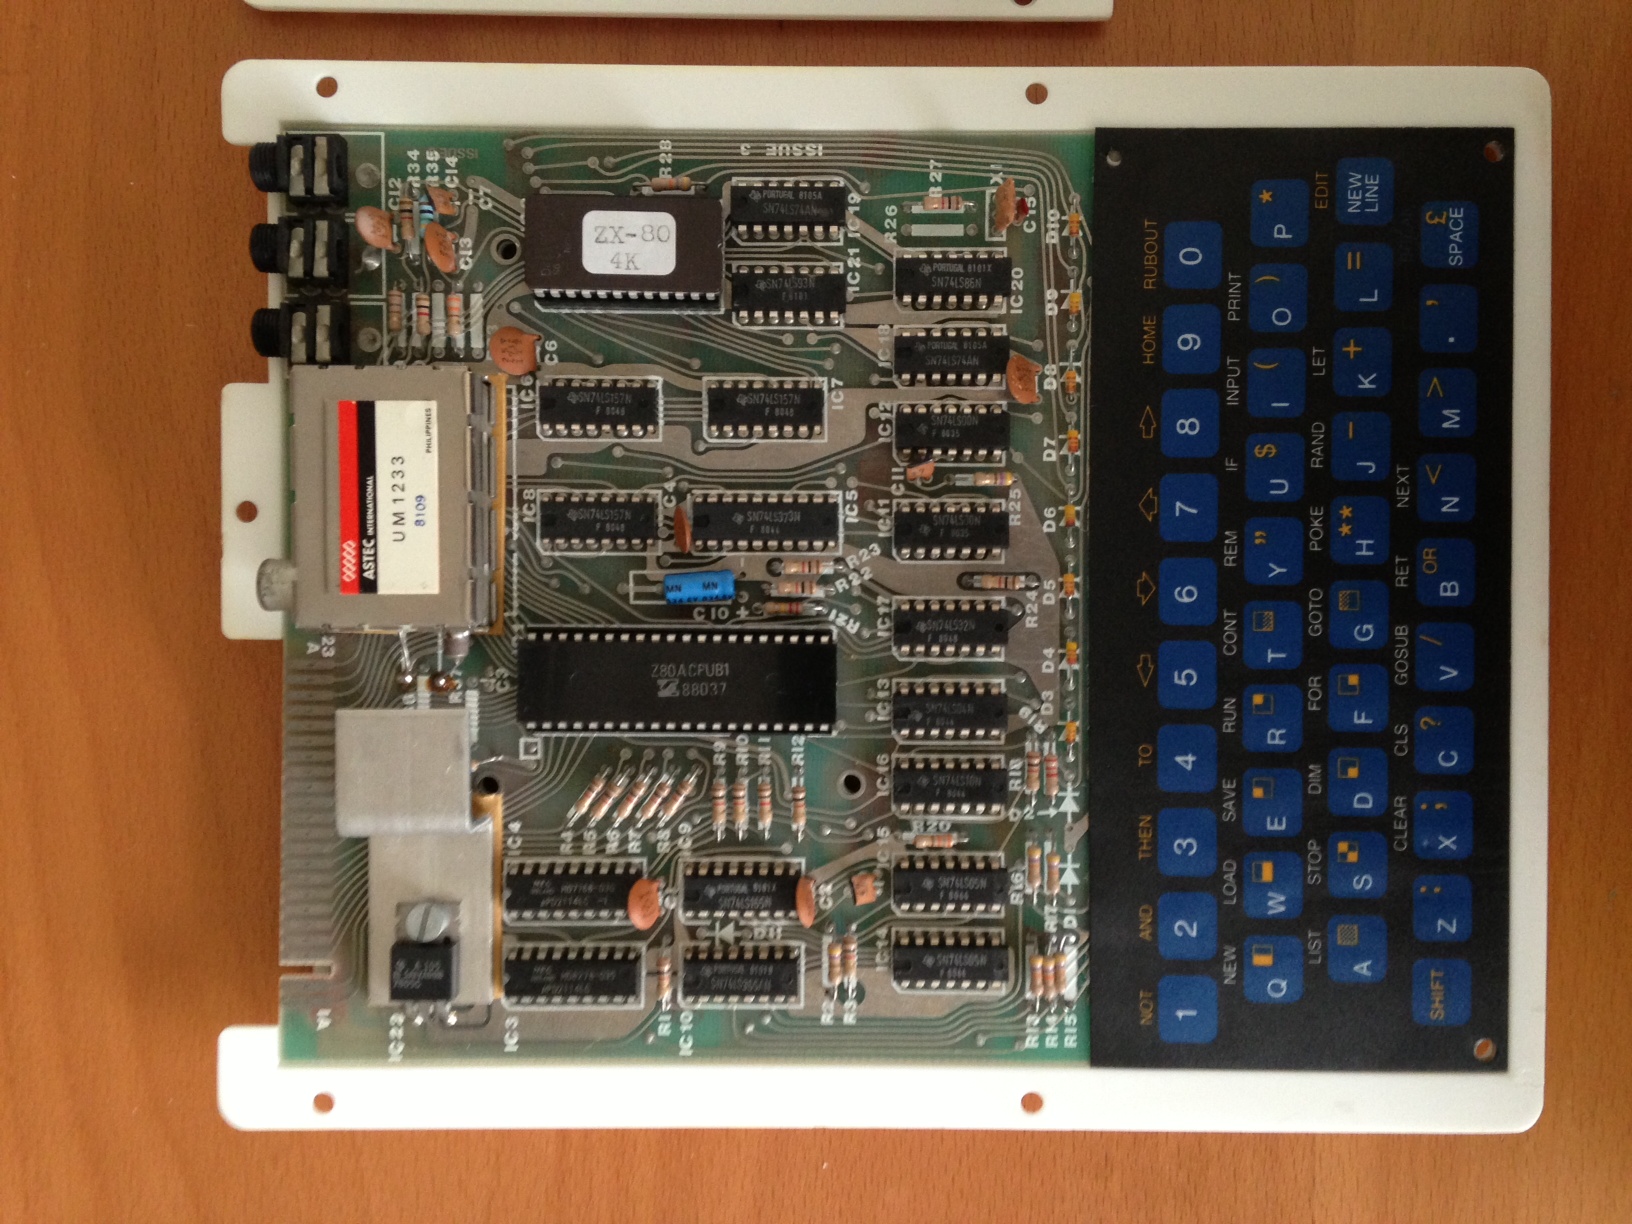
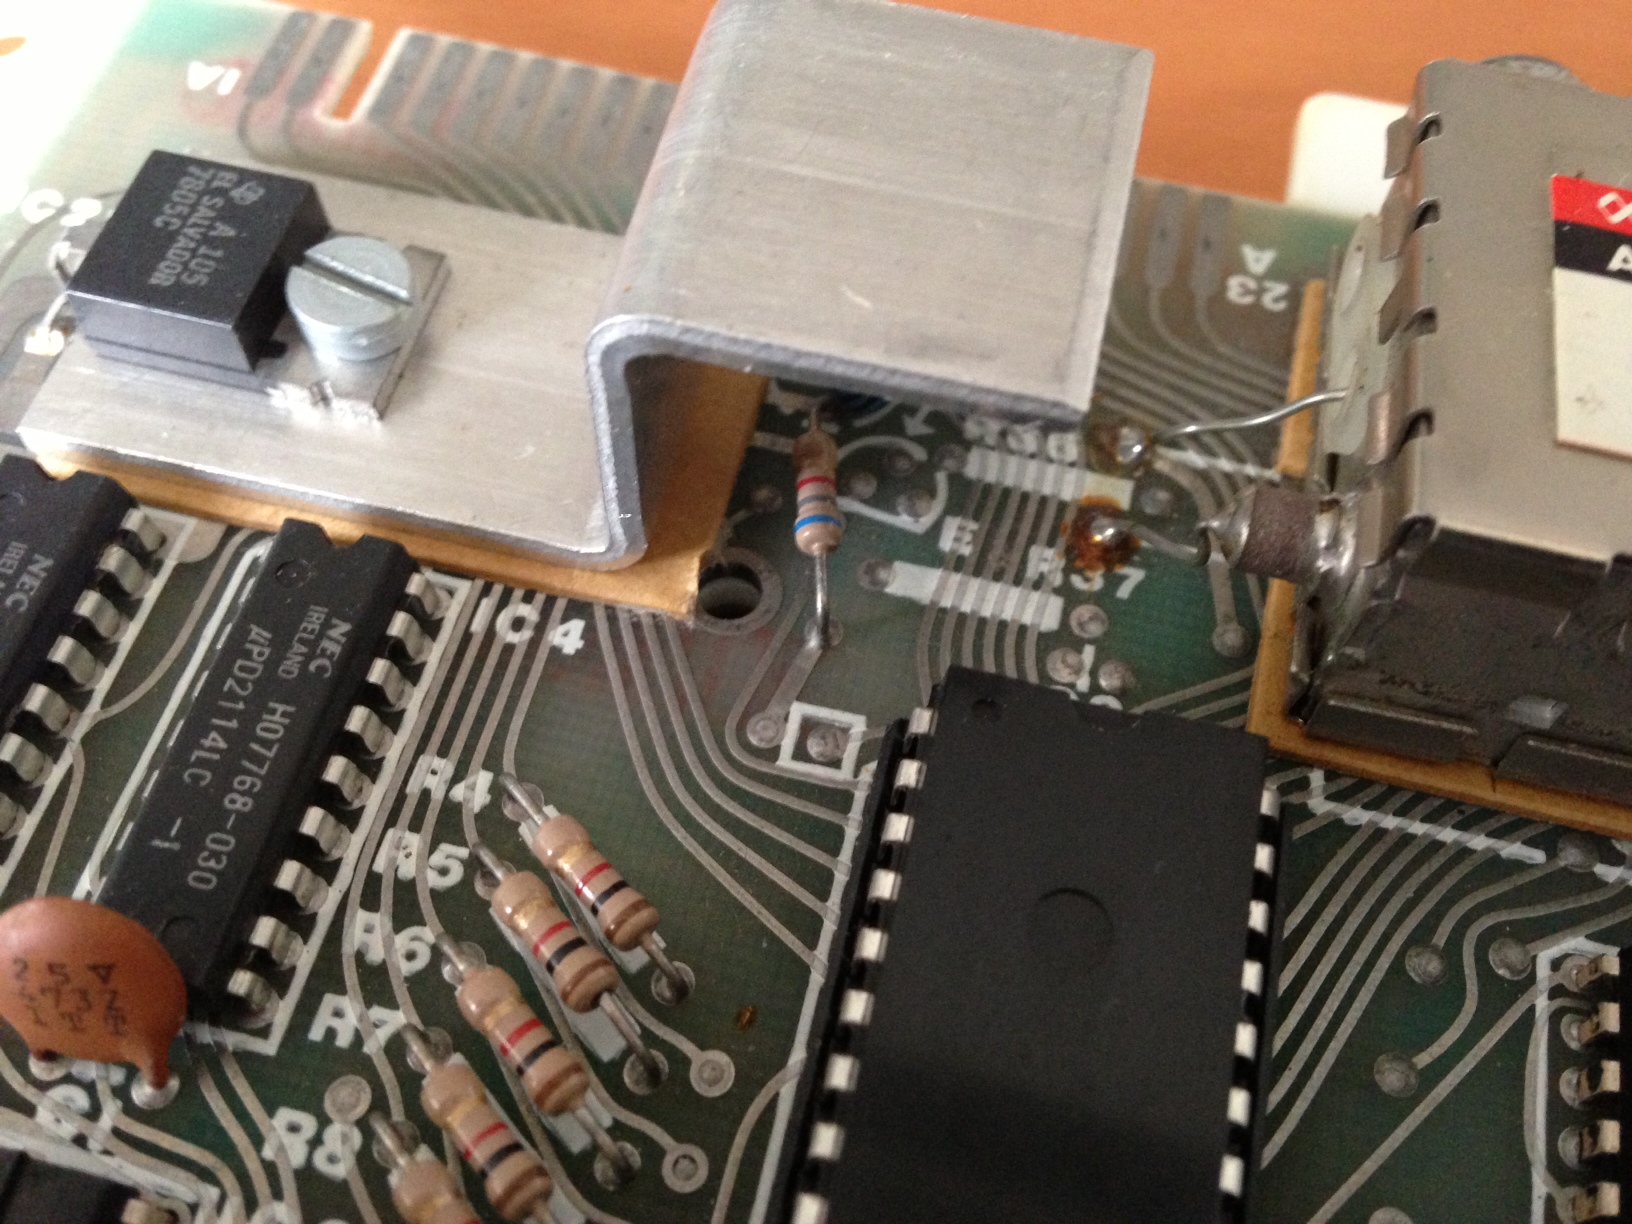
Foto 2 (Spannungswandler im Detail)
Foto 3 (Spannungswandler im Detail)
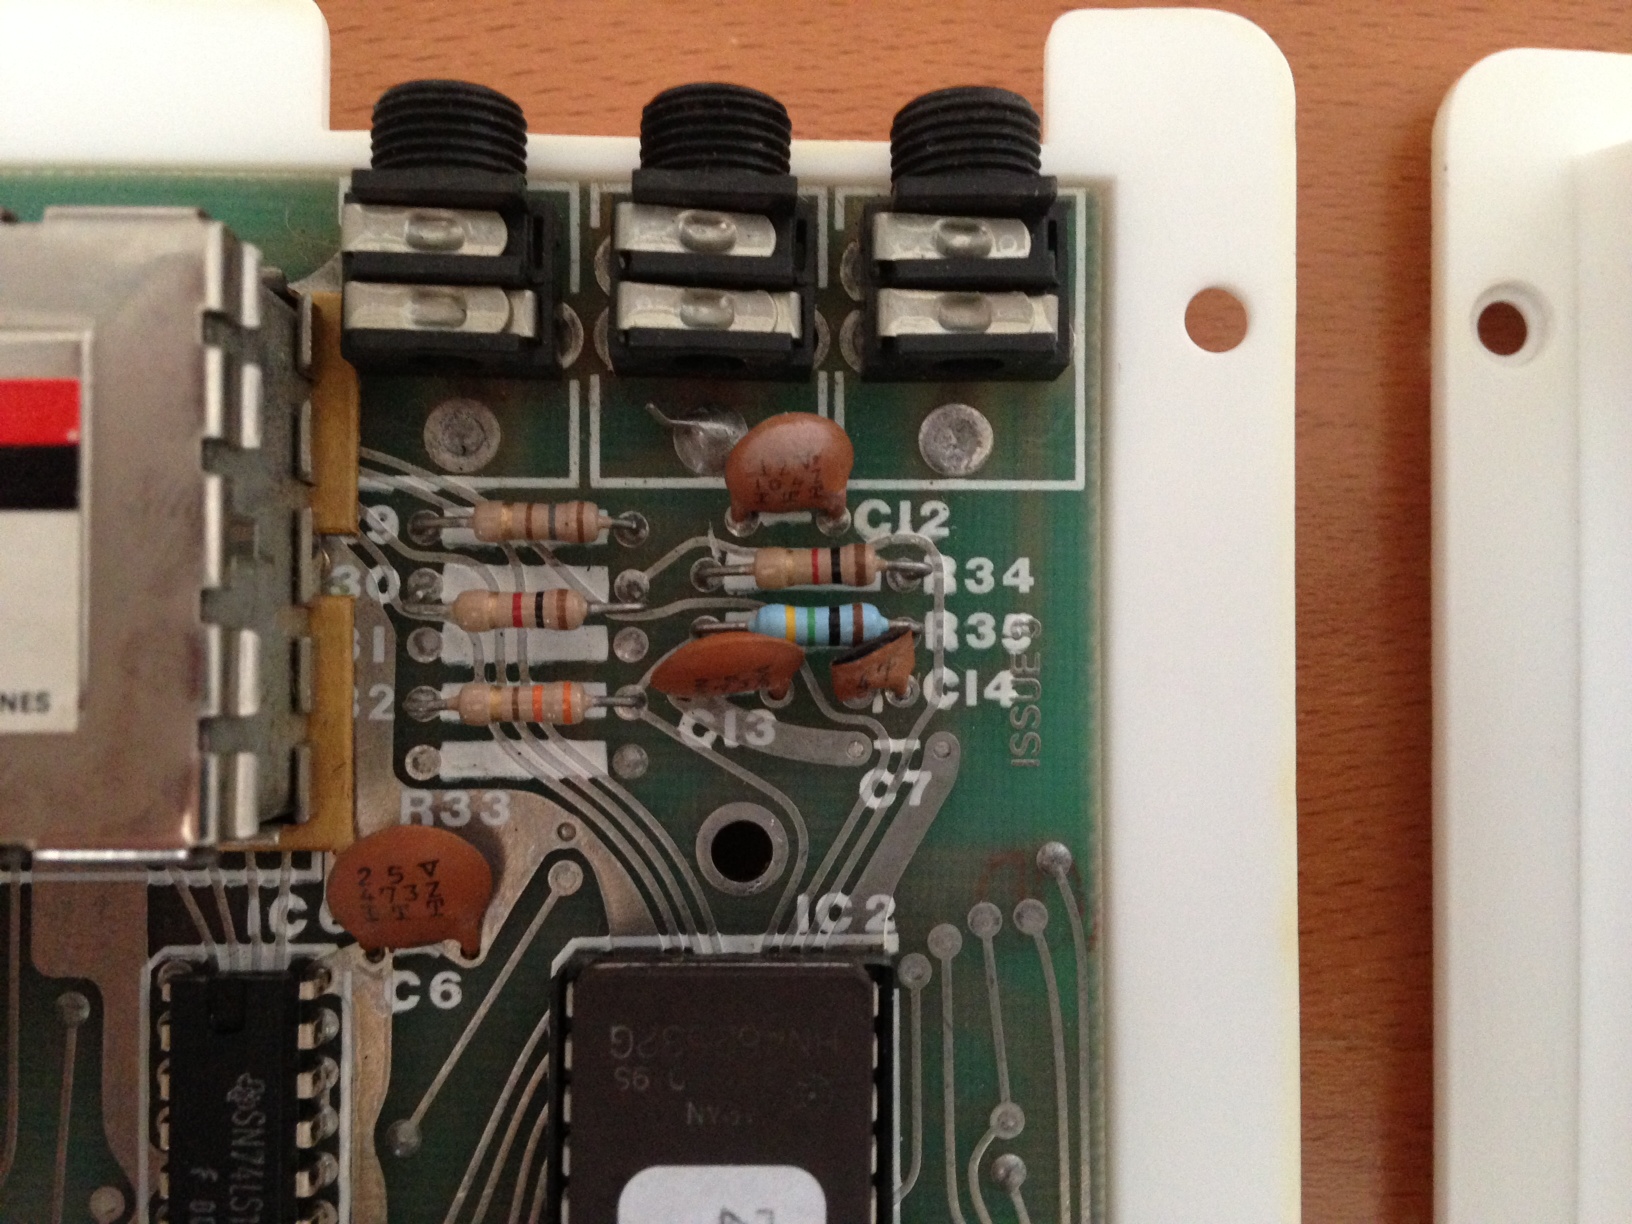
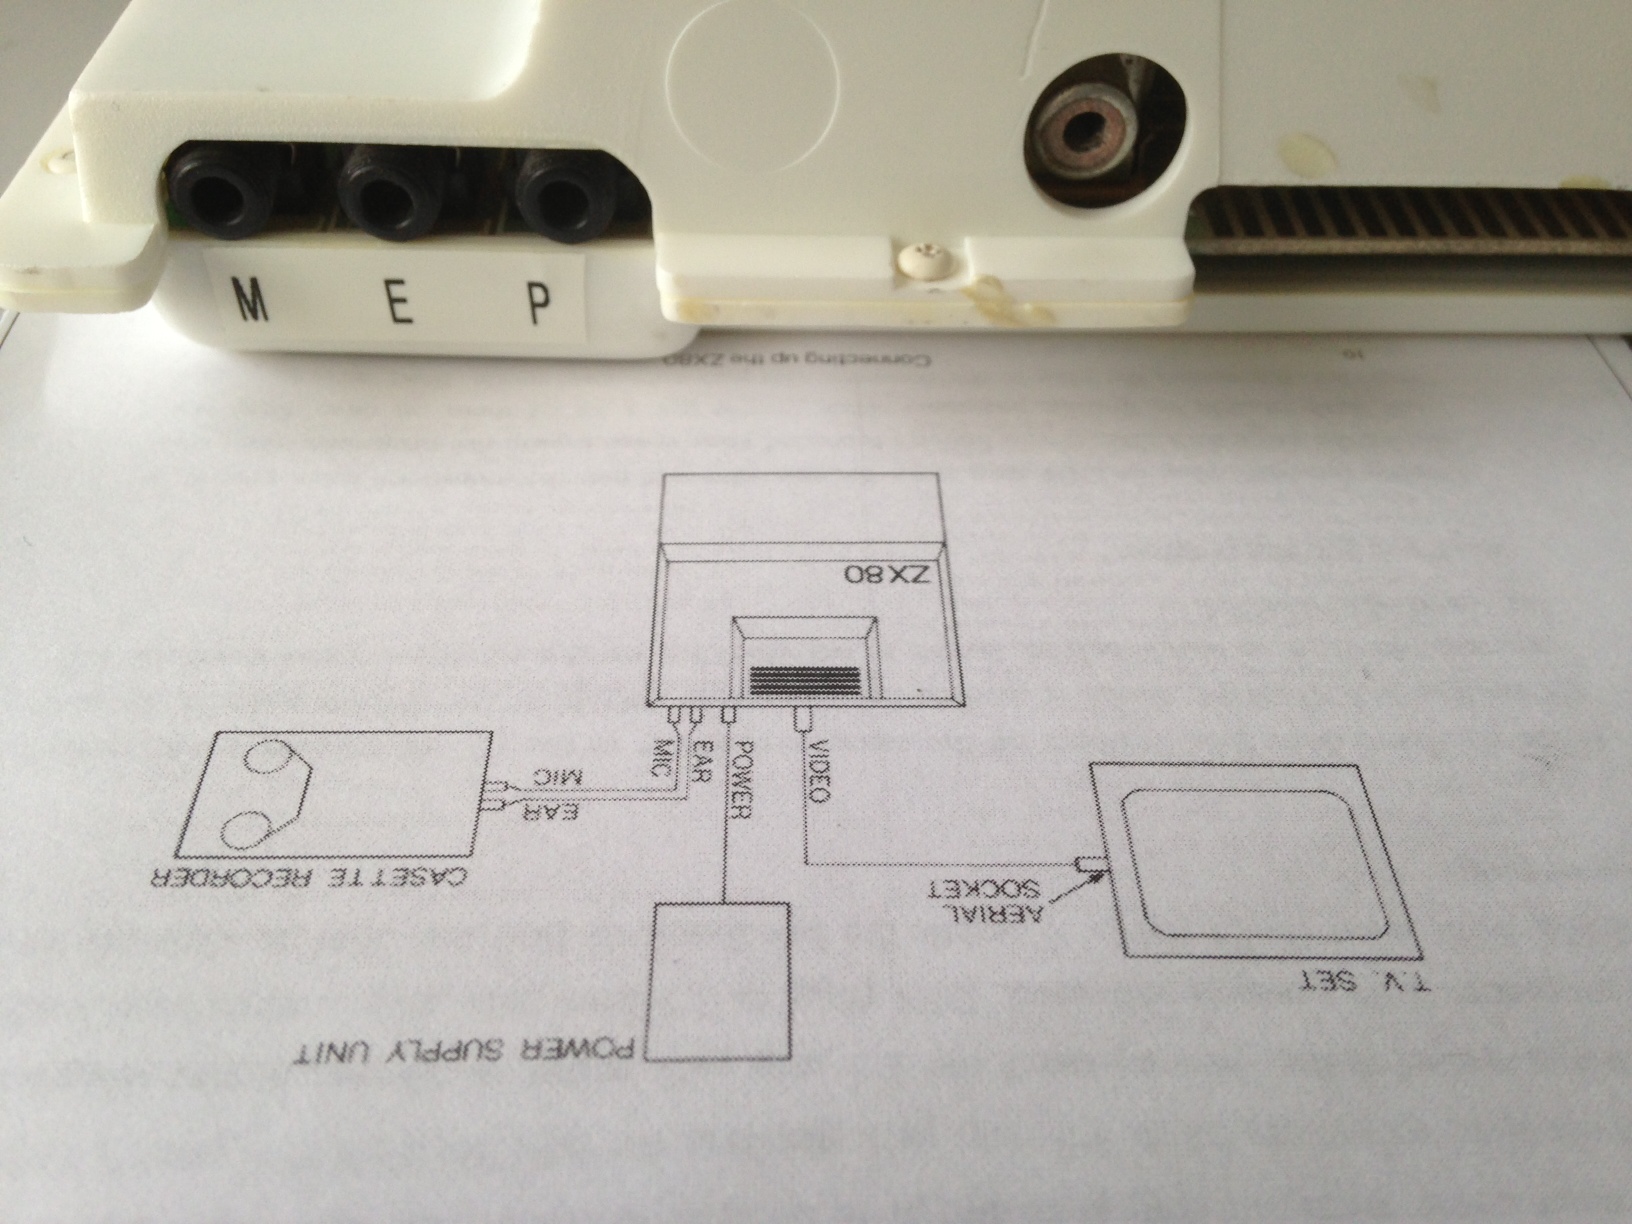
Foto 4 (Power / Ear / Mic)
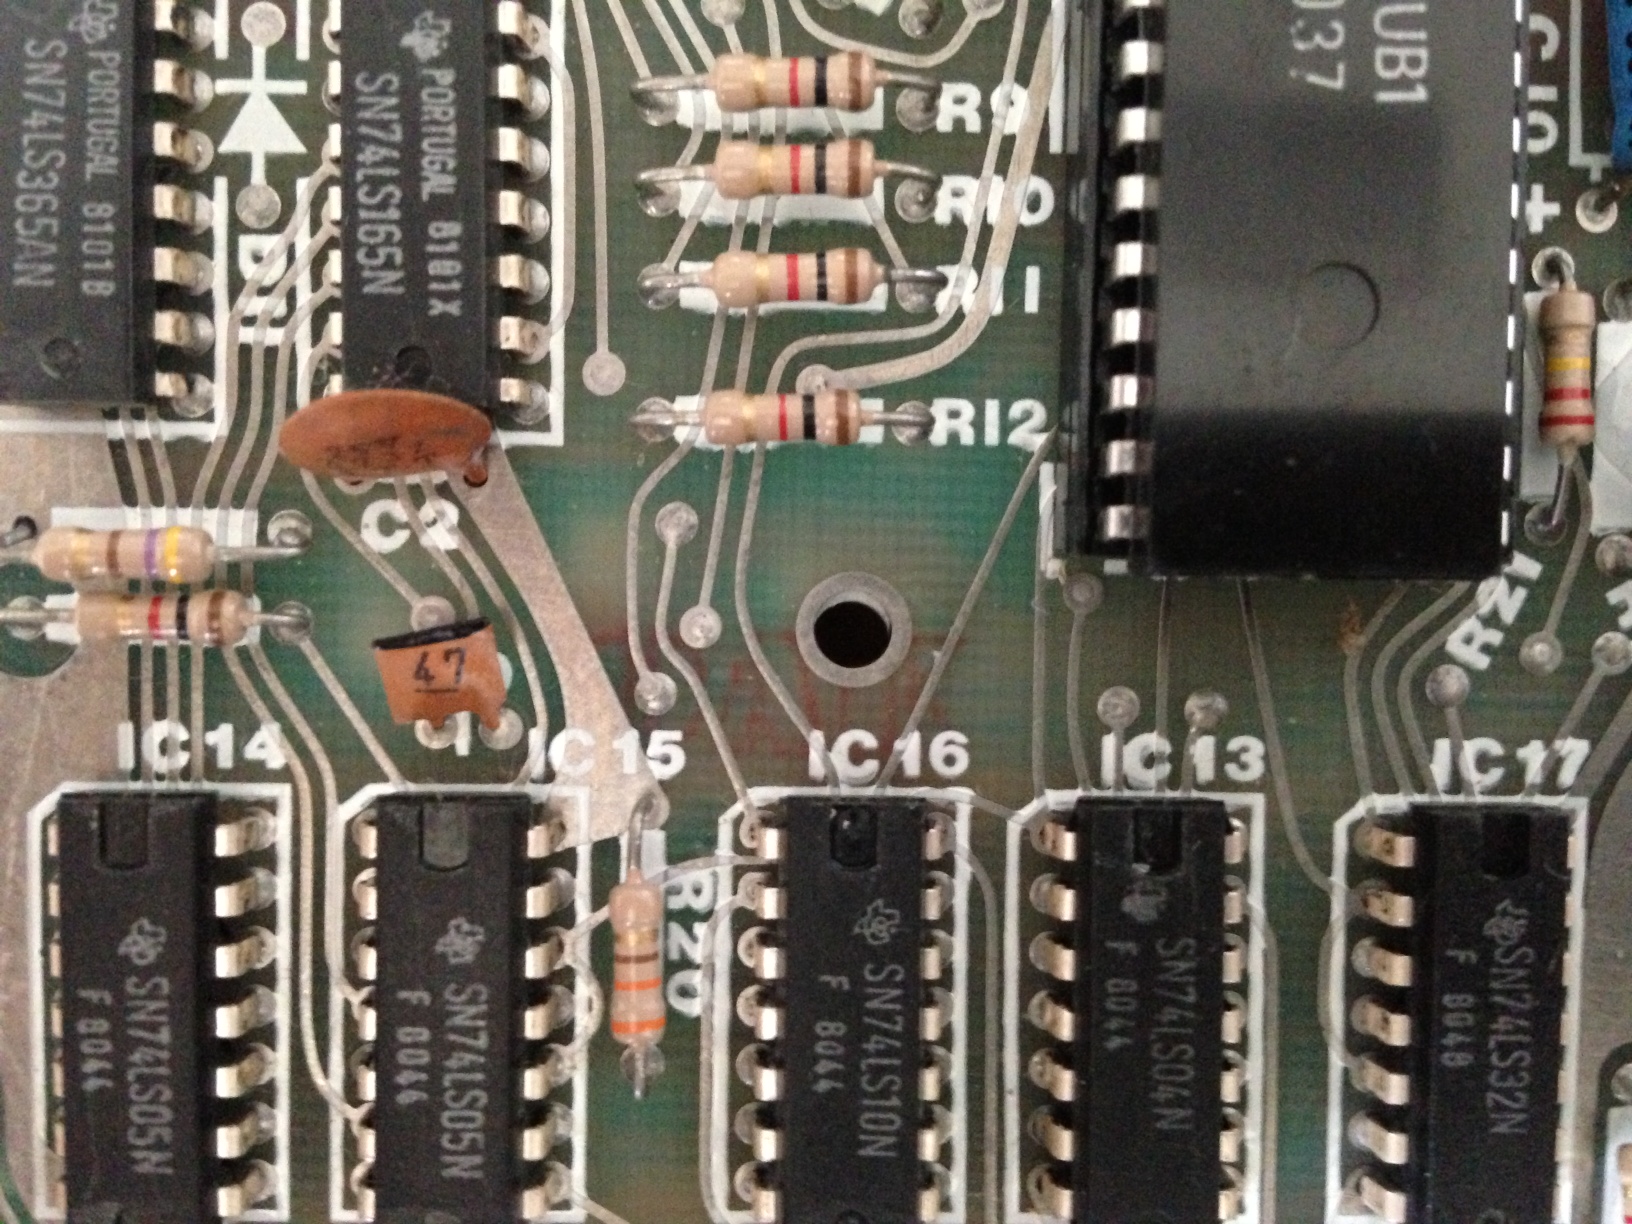
Foto 5 (Bohrung über IC16)
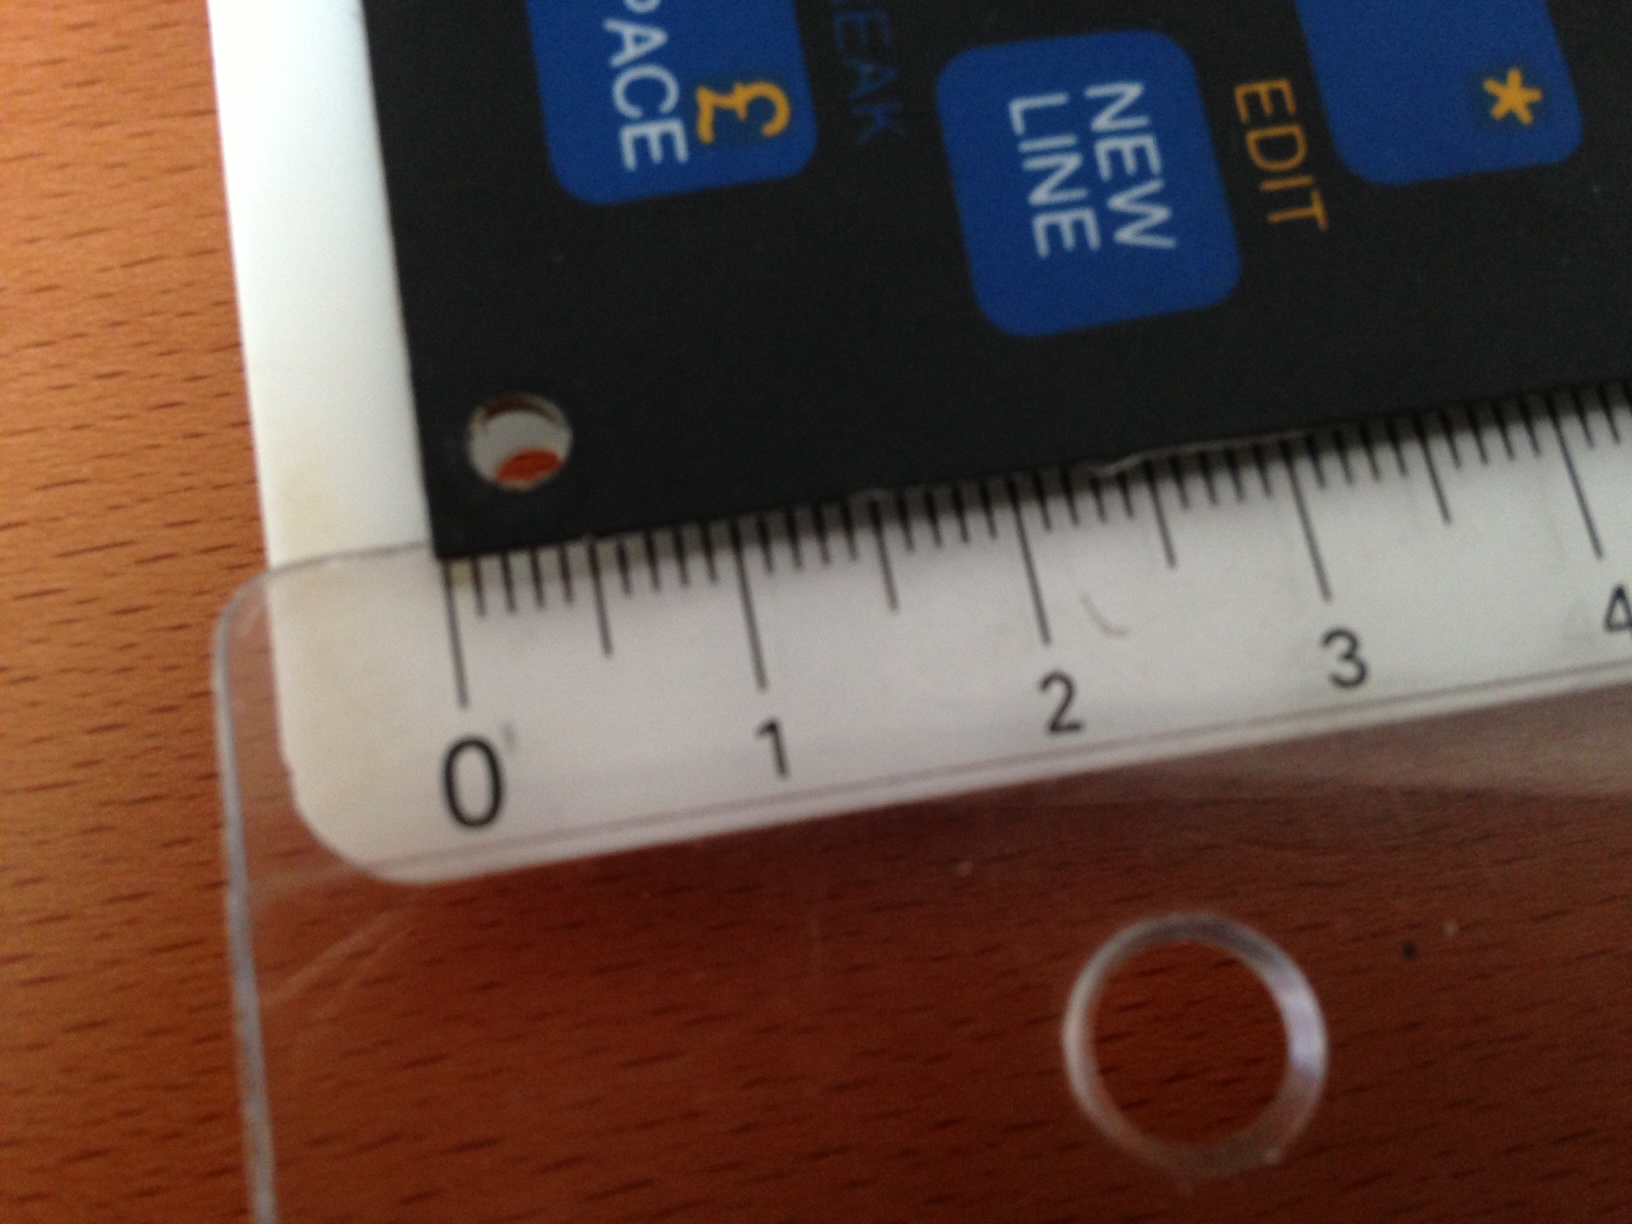
Foto 6 (Keyboard unten rechts)
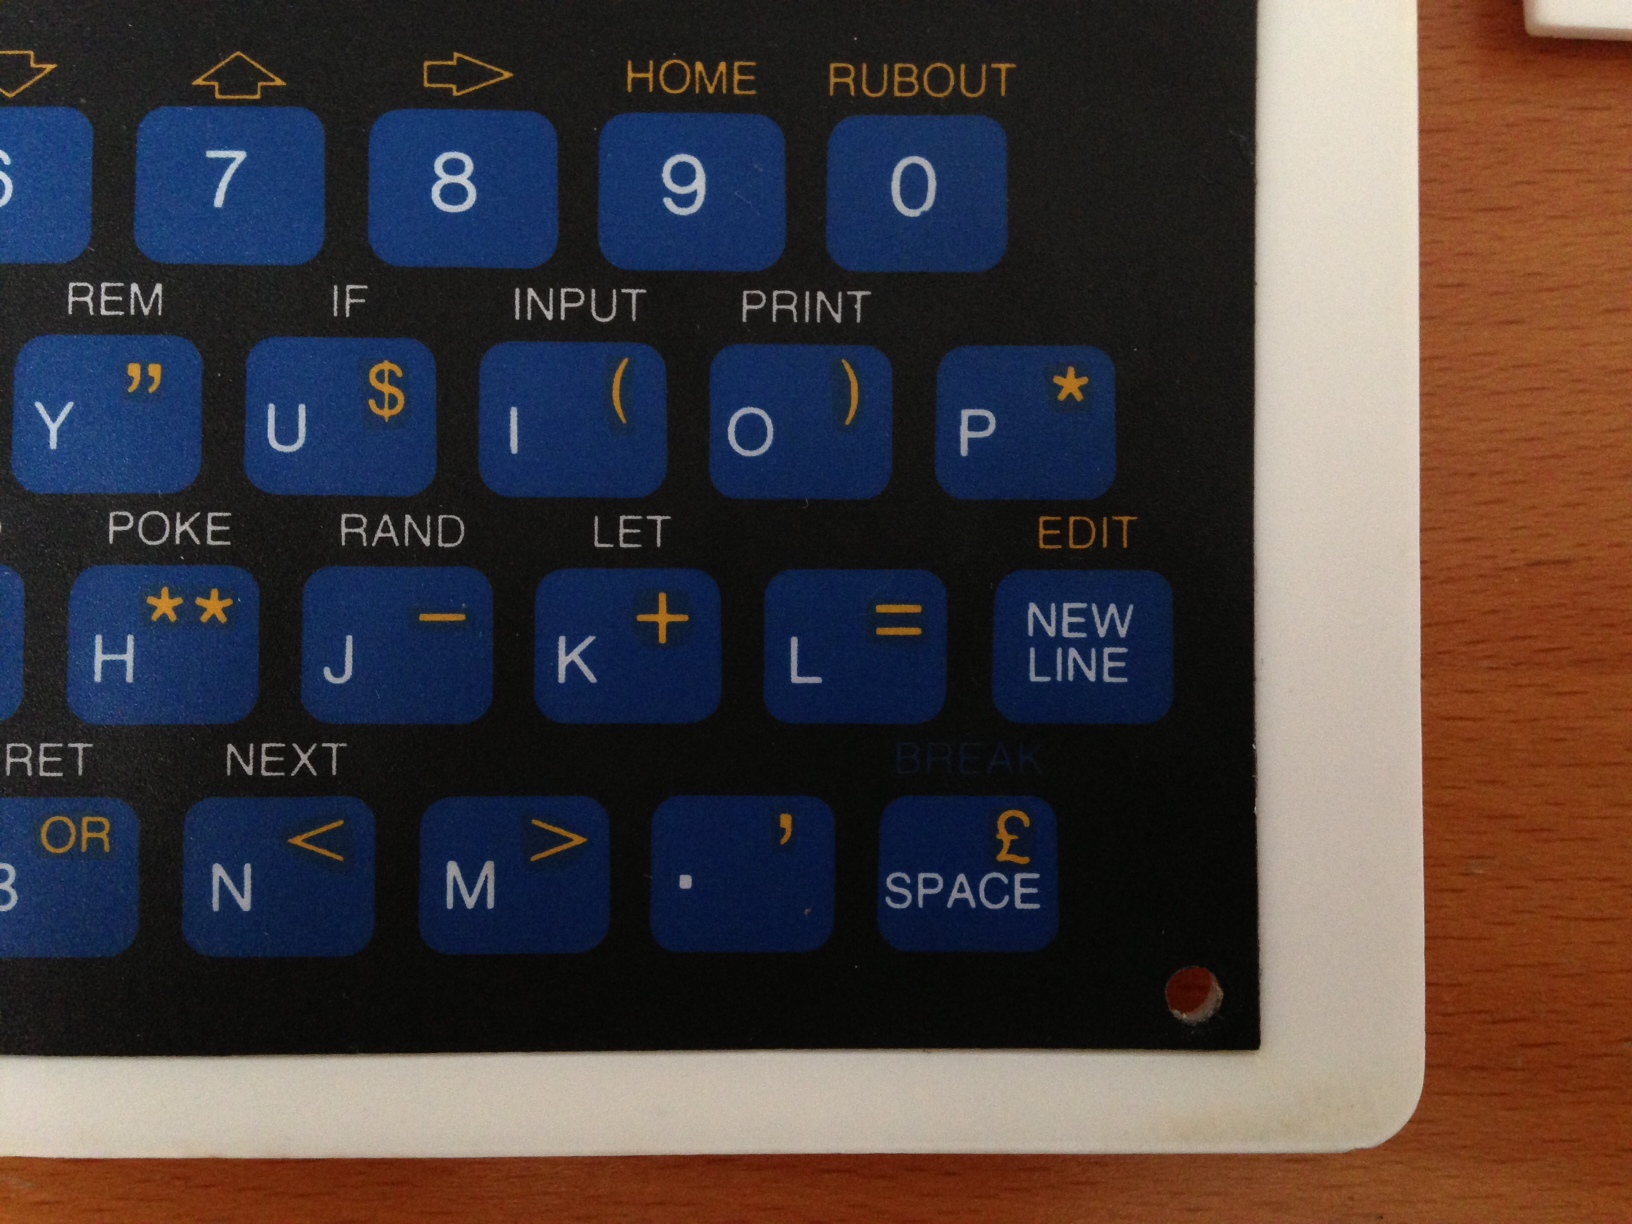
Foto 7 (Keyboard unten links)
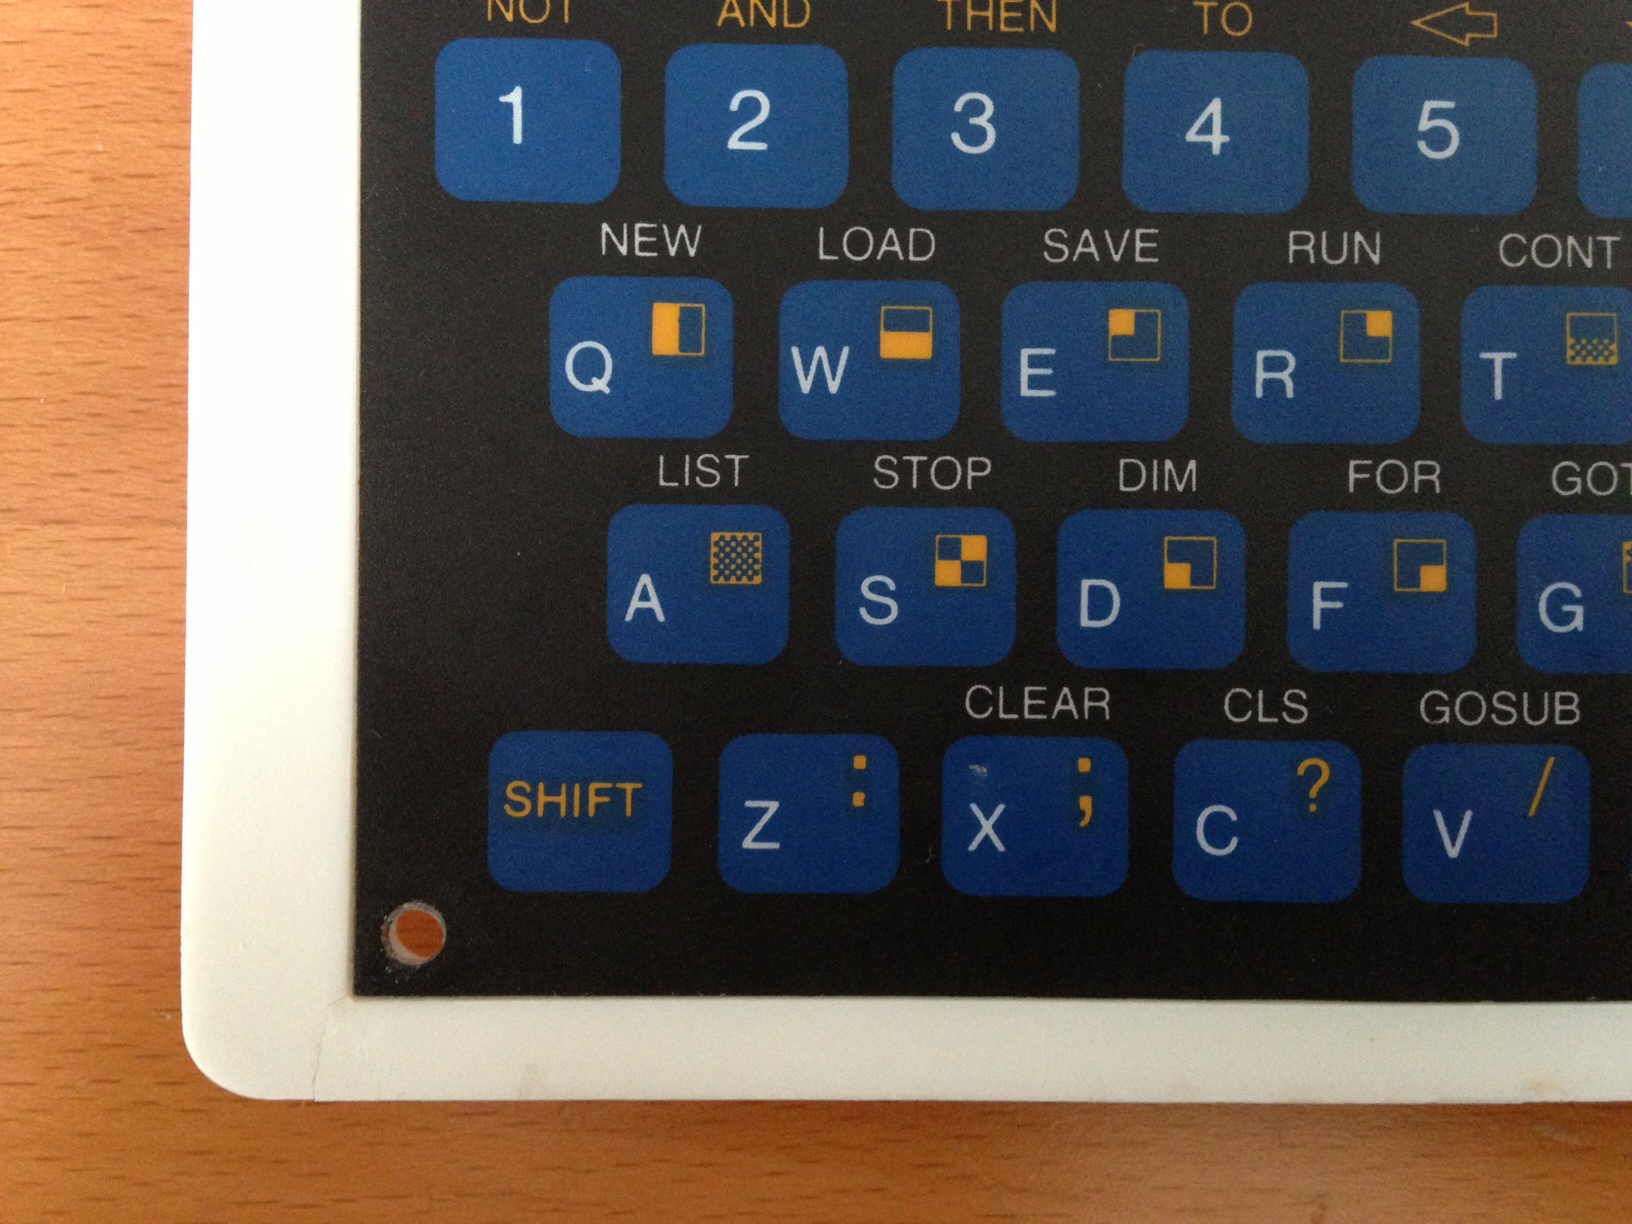
Foto 8 (Modulator)
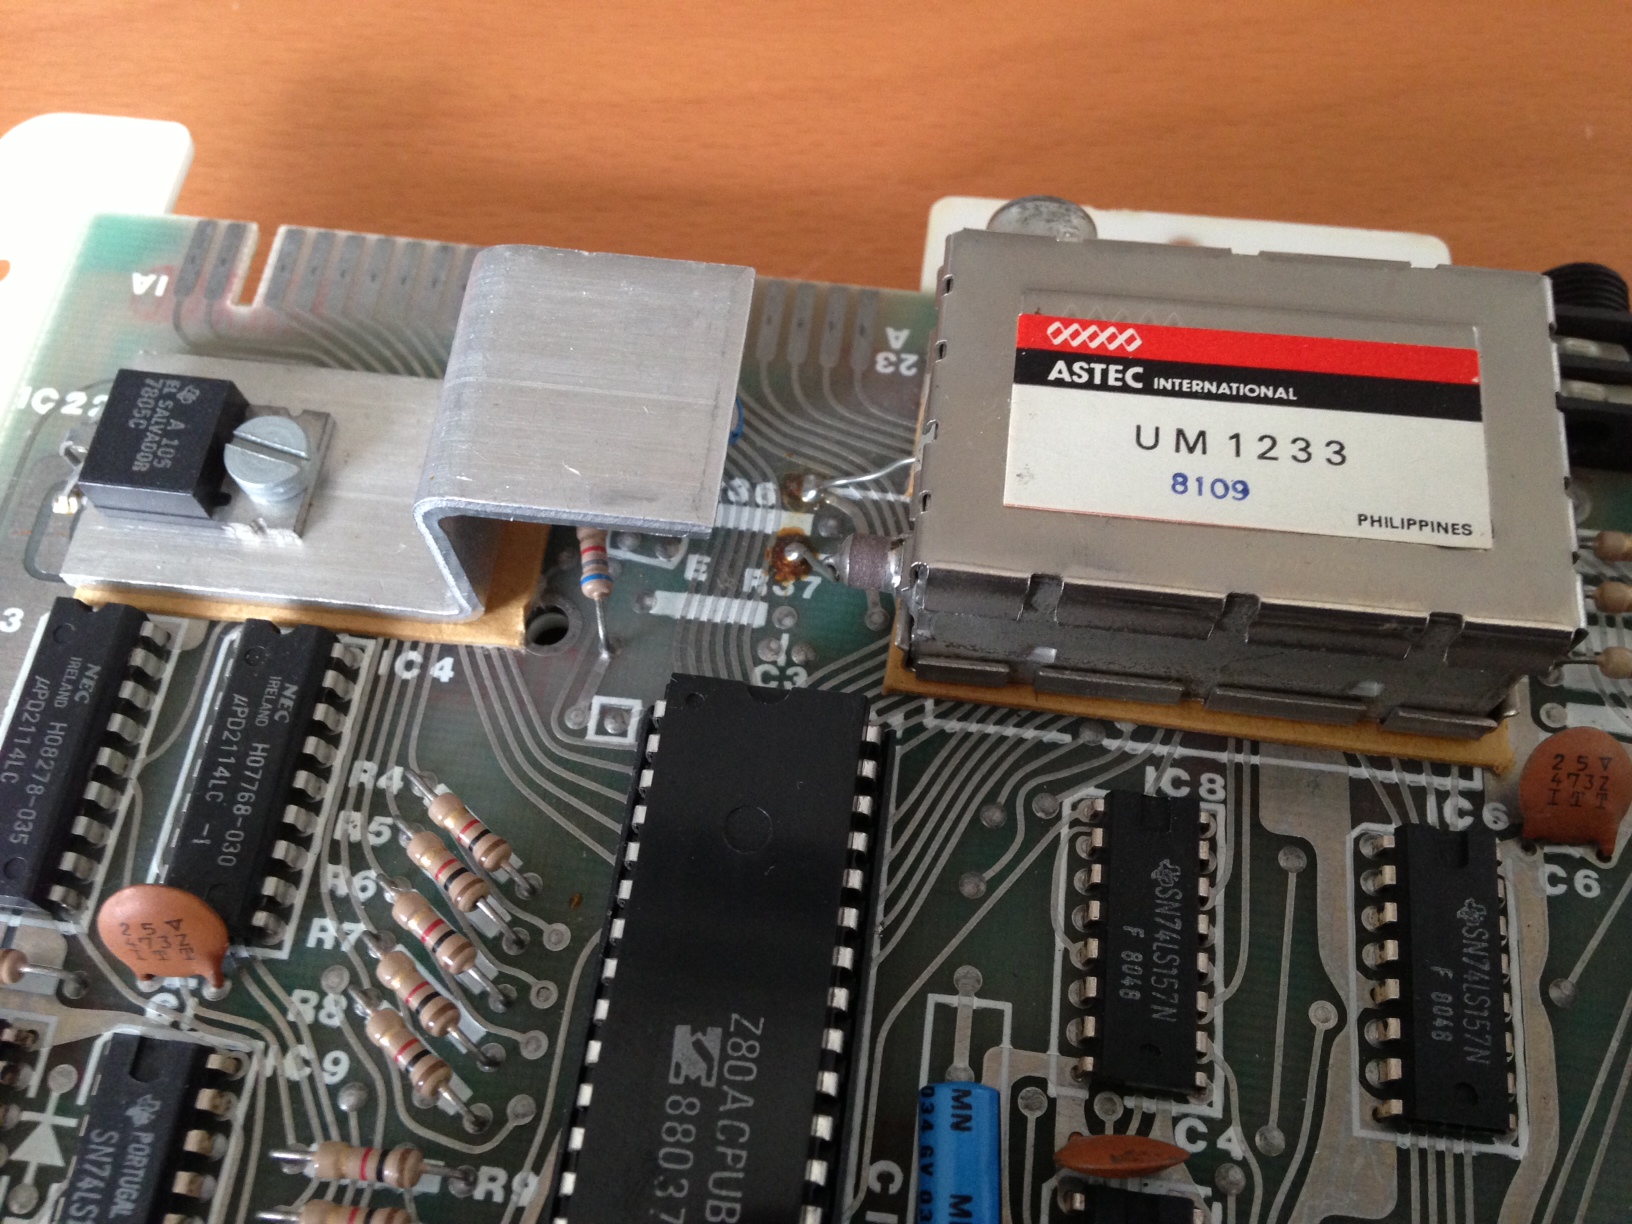
Foto 9 (Platine Breite)
Foto 10 (Platine Breite)
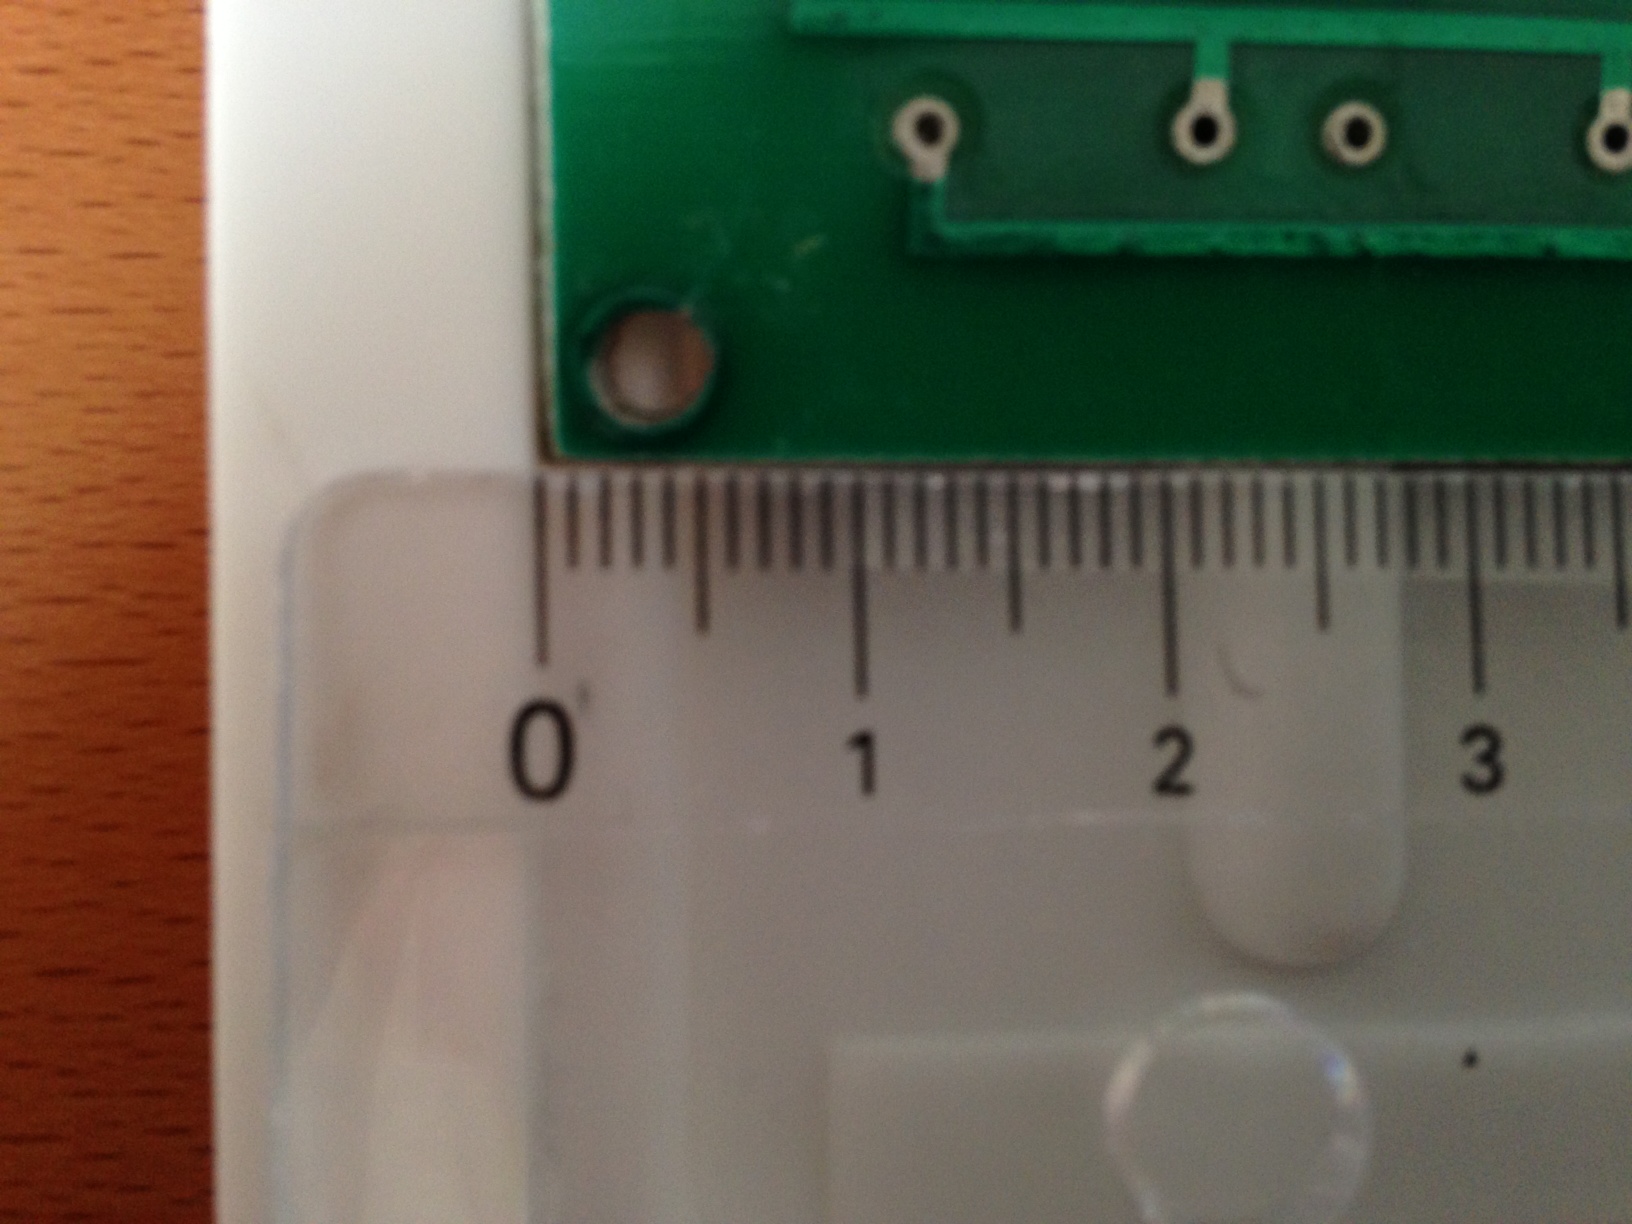
Foto 11 (Platine Höhe)
Foto 12 (Platine Höhe)
Foto 13 (Detail Platinenbefestigung)
Foto 14 (Detail Tastaturbefestigung)
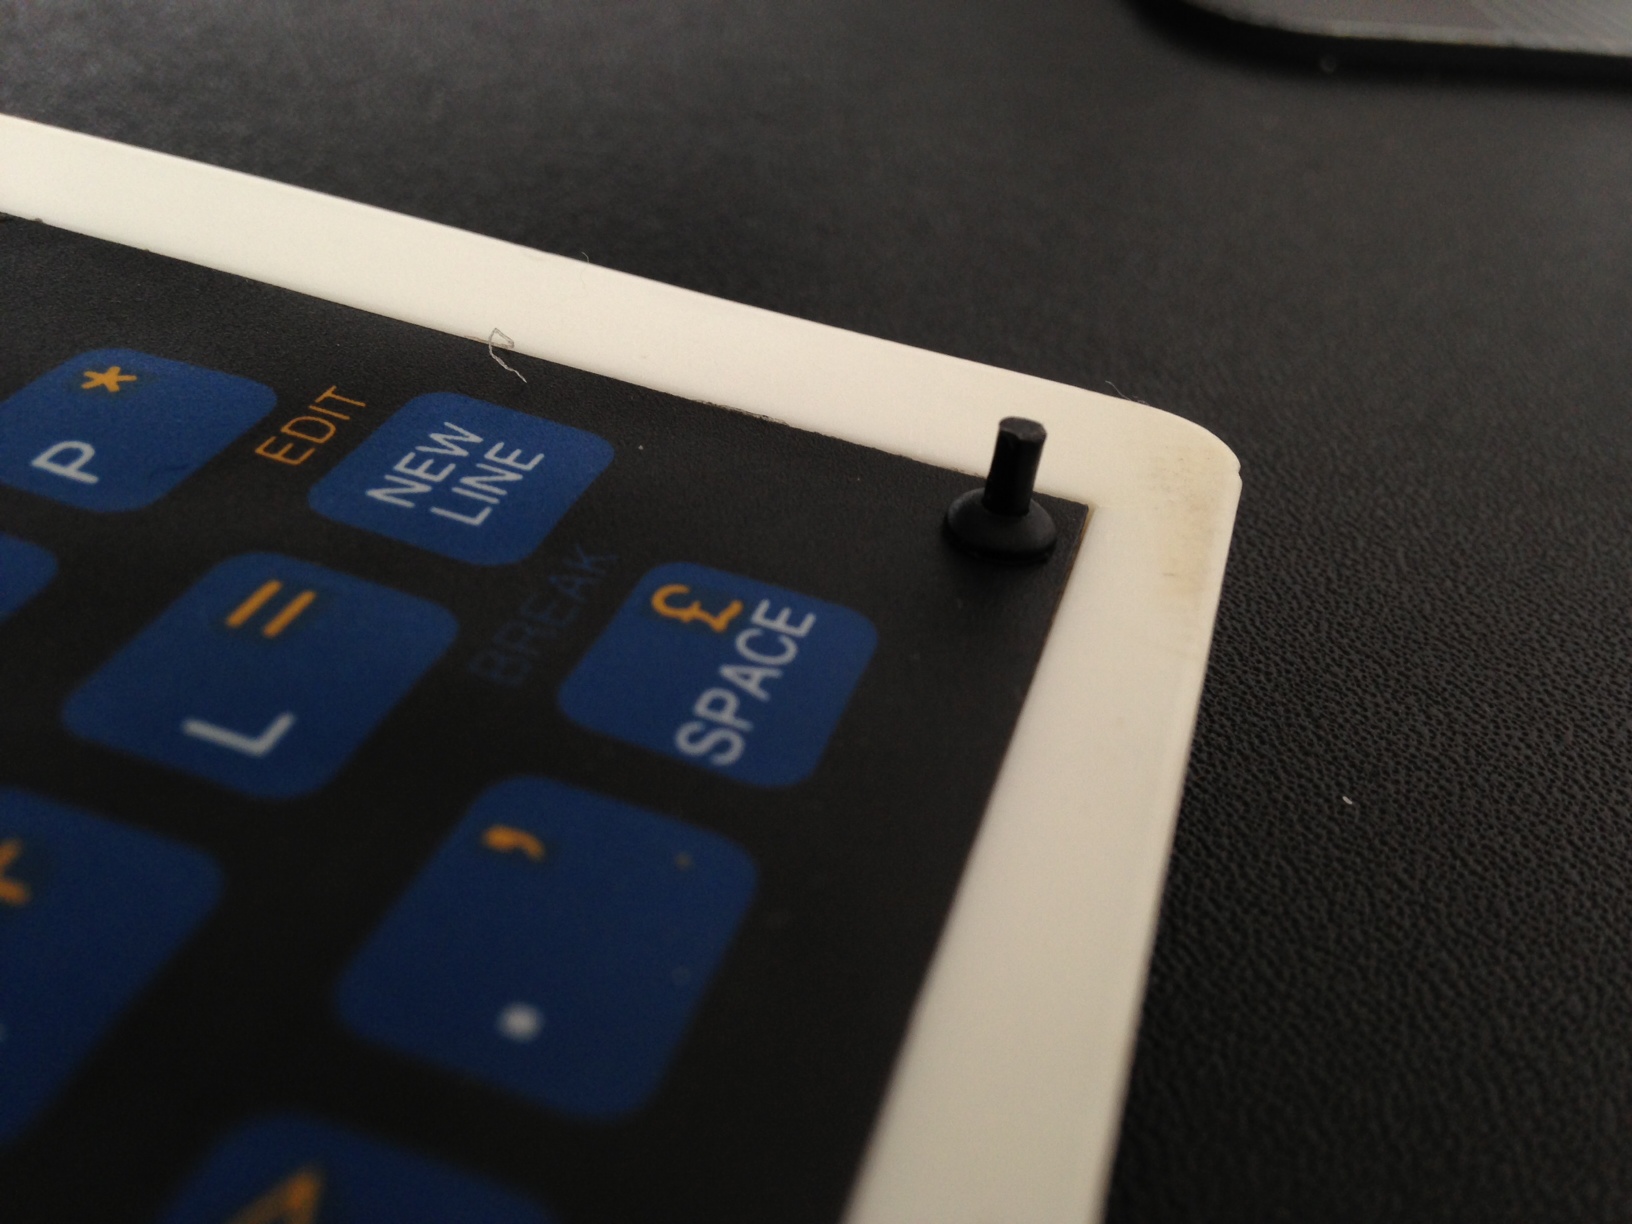
Foto 15 (Detail Tastaturbefestigung)
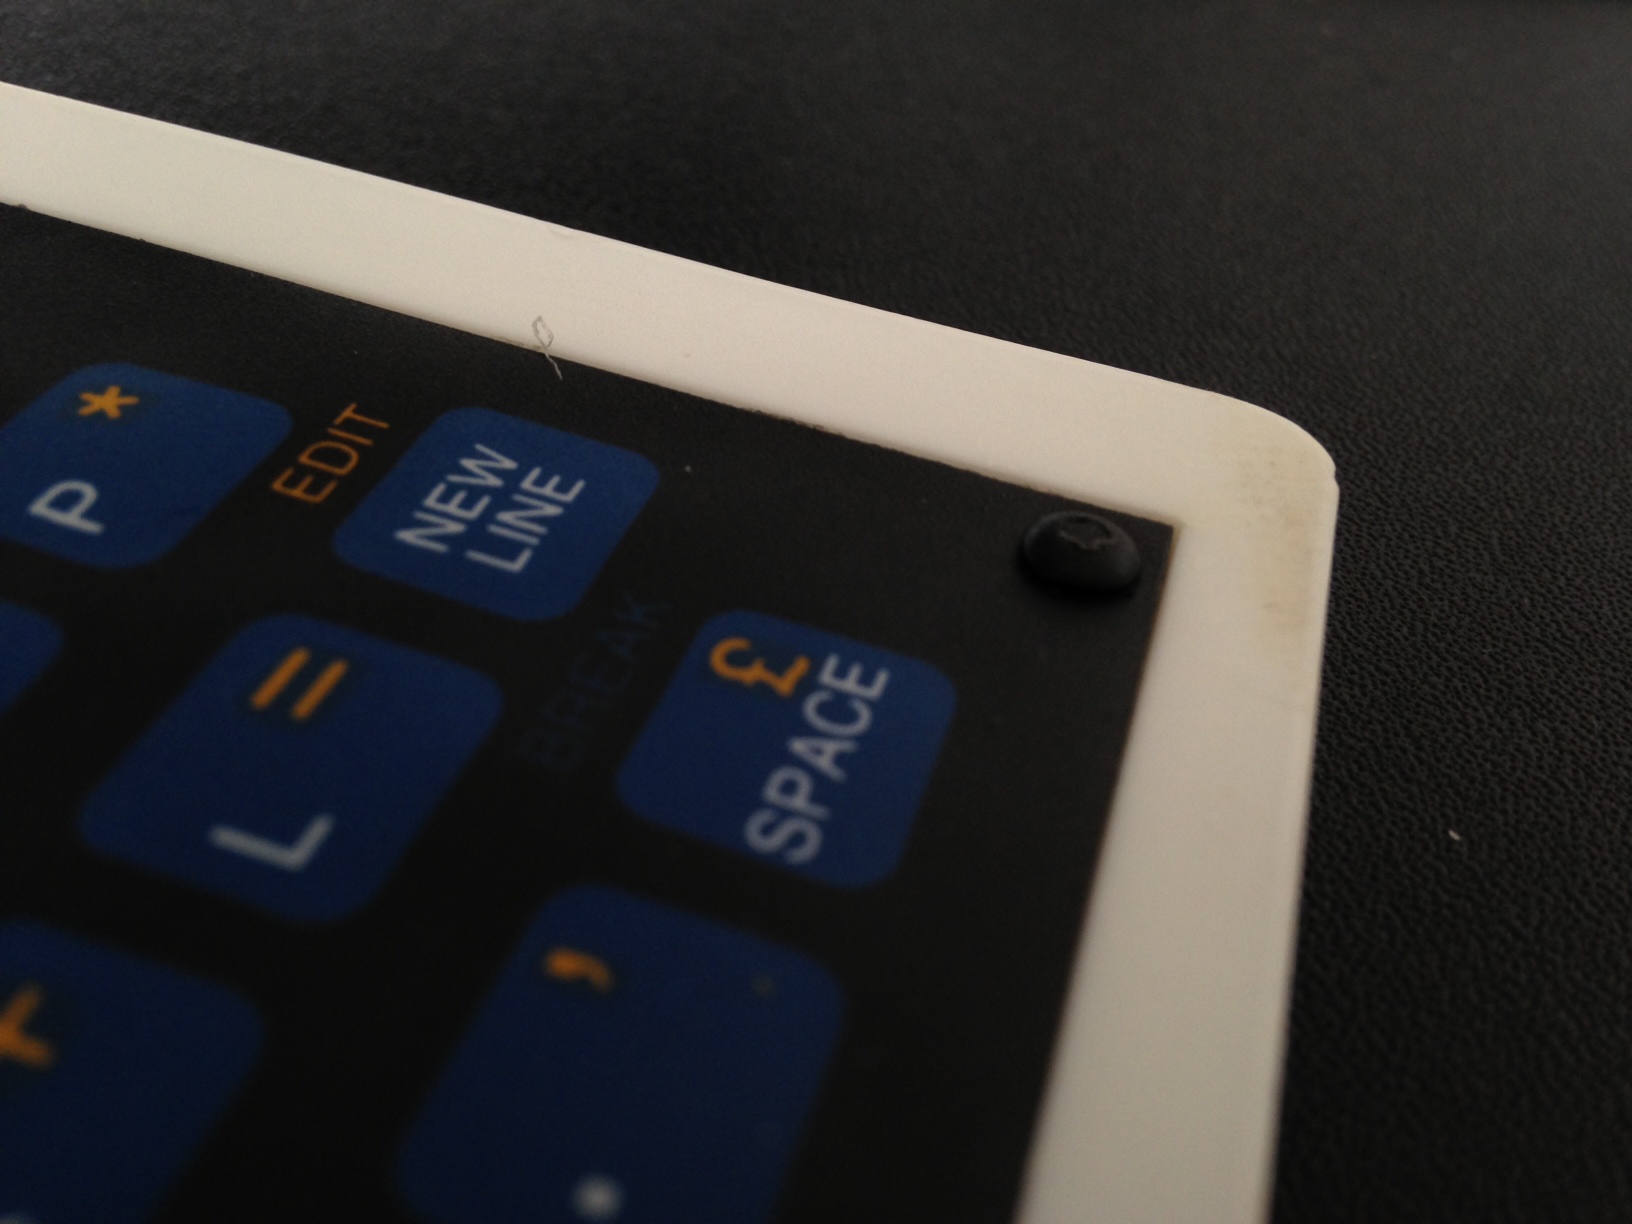
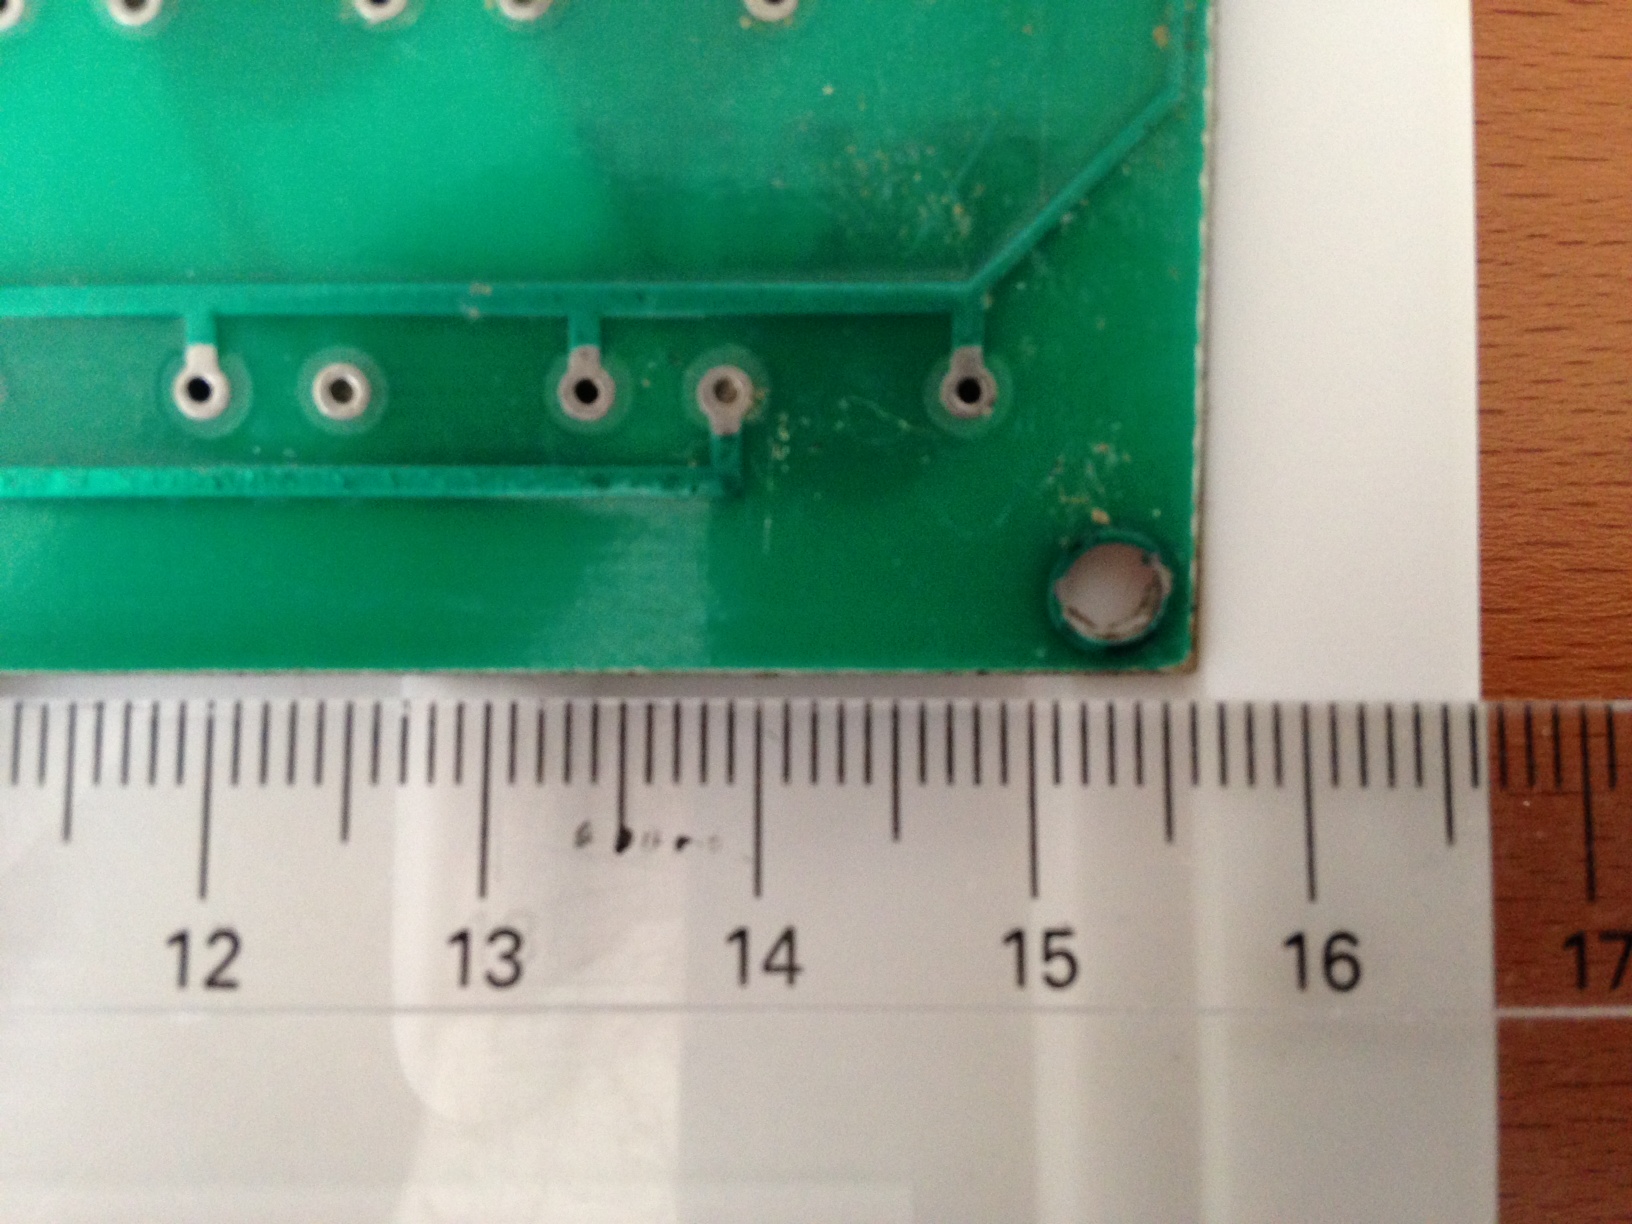
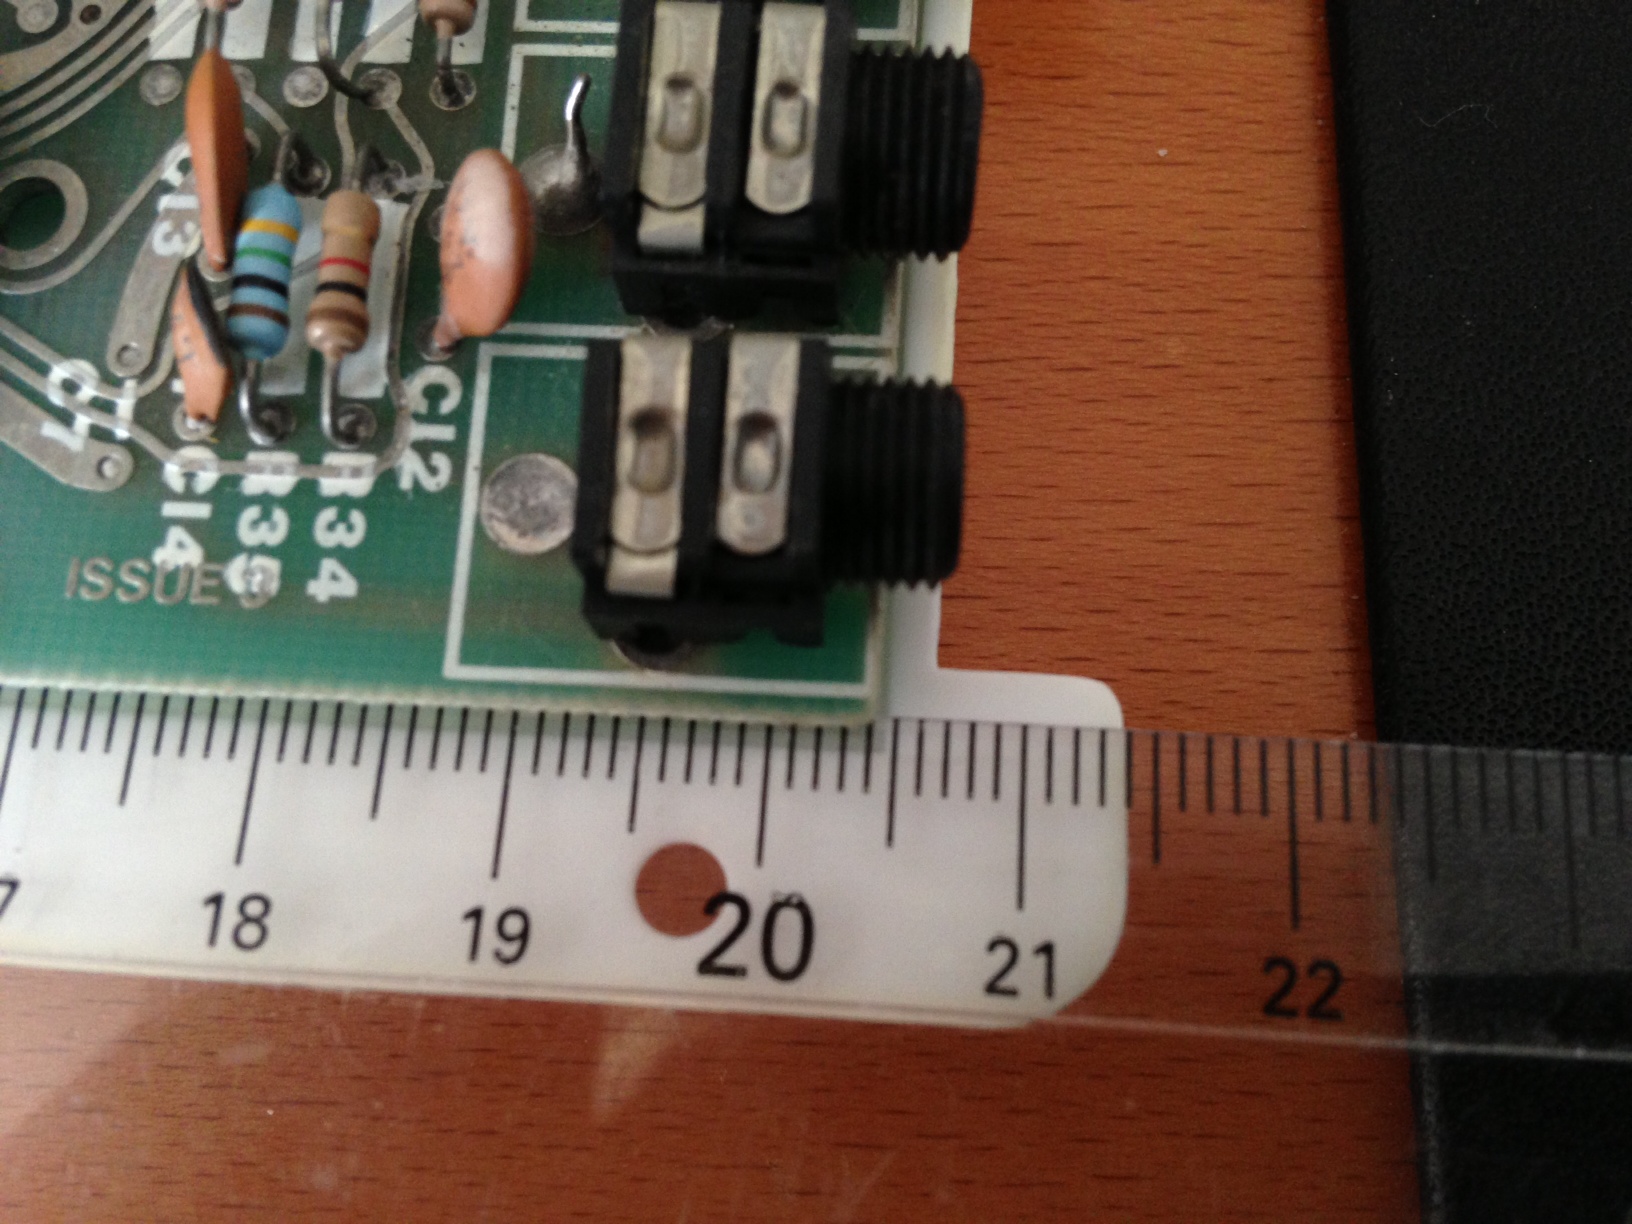
Foto 16 (Detail Klinkenbuchsen)
© 2013 by ms